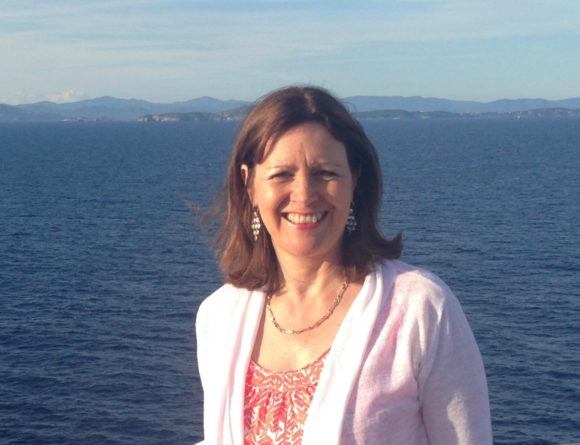
Welcome to Heather on her Travels
Hi, I’m Heather, an award winning travel blogger based in Bristol, UK. This is where you’ll find travel inspiration for the 50+ traveller looking for an authentic travel experience with a little luxury. Come along with me to taste the food, explore the culture, go hiking and cycling, experience a luxury cruise or boutique hotel.
Latest articles
- Where to stay in Malta (2024) – best locations and hotels
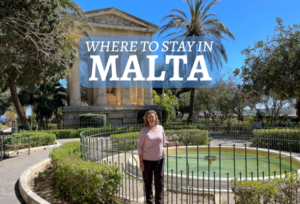
 The Mediterranean island of Malta offers plenty of historical charm, combined with year round sunshine and sparkling water for boat trips, diving and swimming. If …
 - 21 Best things to do in Malta (2024)
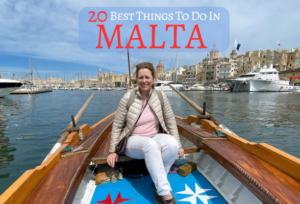 Malta’s position at the crossroads of the Mediterranean has earned this small European nation a central place in history. We cover the best things to …
 - 18 Exciting museums in Bath to visit (2024)
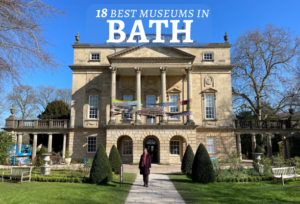 Bath is one of the most exciting heritage cities in England, for its Roman baths and elegant Georgian architecture. Explore the museums in Bath to …
 - Best Isle of Man restaurants – delicious dishes and drinks to try
 For a small island in the Irish sea, we found an amazing number of stylish restaurants on the Isle of Man, offering tasty and inventive …
Search the site
Popular Posts
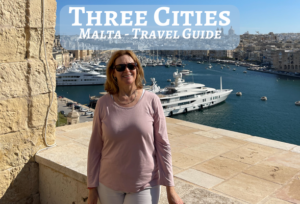
- A guide to Three Cities Malta (2024) – our top things to do
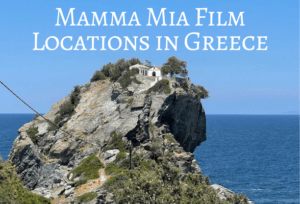
- Mamma Mia Film Locations in Greece – Skopelos, Skiathos and Pelion
- 30 amazing things to do in Lanzarote

- 20 things to do in Grand Cayman – a week in the Cayman islands