Skip to Content
Search
Magnifying Glass
Search for:
Close Search
×
Blog
Destinations
≺
United Kingdom
England
Channel Islands
Northern Ireland
Scotland
Wales
Europe
Austria
Belgium
Croatia
Denmark
France
Germany
Greece
Ireland
Italy
Hungary
Luxembourg
Malta
Netherlands
Portugal
Spain
Sweden
Switzerland
North America
Canada
USA
Caribbean
Aruba
Cayman Islands
Grenada
Jamaica
St Kitts and Nevis
St Lucia
World
Australia
Ecuador
Egypt
Japan
India
Lebanon
Morocco
Namibia
New Zealand
Papua New Guinea
Peru
Sri Lanka
Turkey
Activities
≺
Hotels
Cruise
Culture
Food and Drink
Outdoors
About
≺
About Heather
Free Resources
Paris – 30 food tips from top bloggers
Tour de Mont Blanc Packing Guide
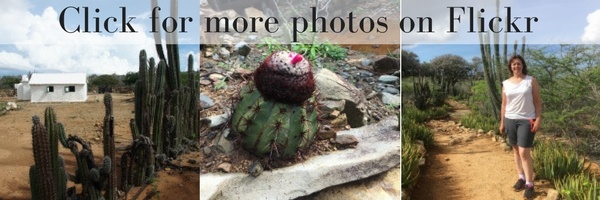
Click to see more photos from this trip
Click to see more photos from this trip
Post navigation
Hiking in Aruba: exploring Arikok National Park
Click here to cancel reply.
Δ